Frame Off Restoration Process Steps. Discover step-by-step tips to restore classic cars like a pro.
Frame Off Restoration Process Steps – Master the Art of Rebuilding from the Ground Up
Ever wondered what it takes to bring a rusty old classic car back to showroom glory?
If you’ve dreamt of breathing life into a forgotten vehicle, you’re not alone. The frame off restoration process is your path to turning a beat-up classic into a timeless beauty. But let’s be real—it’s not a weekend project. It’s serious business, filled with challenges, sweat, and some of the most rewarding moments for any car enthusiast. 🚗✨
In this guide, we’ll walk you through the full step-by-step process of a frame off restoration. You’ll get expert-level insight written in simple, down-to-earth language—because this should feel like a conversation, not a manual. Let’s break it down!
What Is Frame Off Restoration? 🔧
Frame off restoration is the gold standard of classic car rebuilds. It means removing the entire body from the car’s frame, repairing or replacing every component, and then reassembling it like new.
Unlike a “frame on” restoration, where the body stays on, this approach offers:
- Full access to every component
- Deeper rust removal and treatment
- A stronger, longer-lasting result
- A completely customized outcome
Think of it like rebuilding a house from the foundation up. You’re not just slapping on new paint—you’re digging deep.
Step 1: Assess the Condition of the Vehicle 🧐
Before you start, take a long, hard look at your car.
Key things to inspect:
- Frame condition (rust, cracks, bends)
- Body panels (alignment, dents, rust)
- Suspension and brakes
- Engine and transmission wear
- Interior and upholstery damage
🛠️ Tip: Take photos of everything before disassembly. It’ll be your cheat sheet later on.
Step 2: Plan Your Budget and Timeline 💰🕒
Frame off restorations aren’t cheap—and they’re not fast.
Plan for:
- Parts and replacement components
- Tools or garage space rental
- Labor (if you’re outsourcing any steps)
- Paint, detailing, and custom upgrades
| Estimated Cost Breakdown | Low-End ($) | High-End ($) |
|---|---|---|
| Parts and replacements | 3,000 | 20,000 |
| Labor (if outsourced) | 5,000 | 25,000 |
| Paint and bodywork | 2,000 | 15,000 |
| Tools & materials | 1,000 | 5,000 |
👨🔧 Real talk: Expect the project to take months or even a year—depending on how much you DIY.
Step 3: Disassemble the Car Completely 🧰
This is where the magic (and chaos) begins.
Strip the car down to its bones.
Start with these steps:
- Remove battery, fuel tank, and fluids
- Label and bag all small parts
- Disconnect wiring and hoses
- Remove interior seats, carpet, and dashboard
- Unbolt body from frame
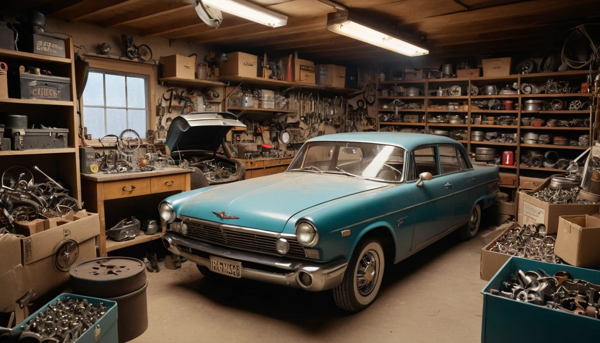
Organizing is key 🗂️—label every part, screw, bolt, and clip. You will forget other wise.
Step 4: Separate the Body from the Frame 🏋️♂️
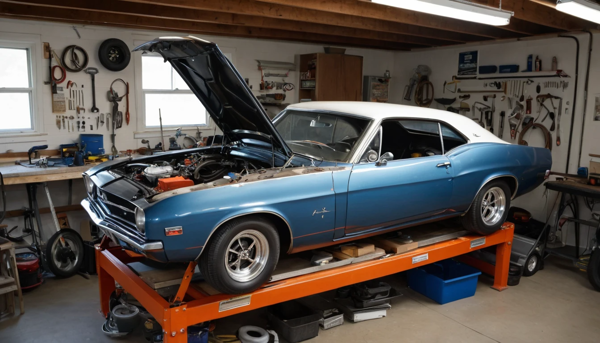
You’ll need a lift or multiple strong friends (and a solid hoist setup).
Steps to separate body and frame:
- Unbolt all mounting points
- Support body securely before lifting
- Carefully lift body using hoist or lift system
- Roll out the bare frame
🚨 Caution: Don’t rush this part. A slip can mean bent metal or crushed toes.
Step 5: Strip and Repair the Frame ⚙️
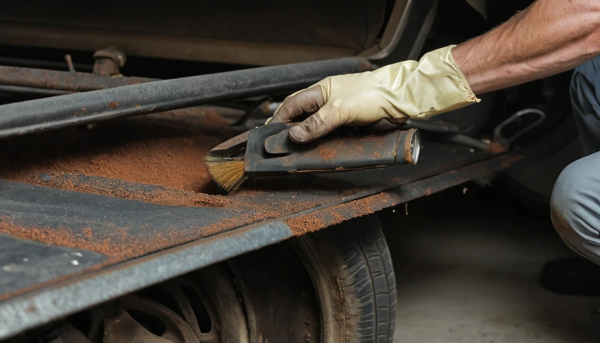
Now that you have access, it’s time to get that frame spotless.
Tasks involved:
- Sandblasting or chemically stripping paint
- Inspect for cracks, rust-through, or bends
- Reinforce weak spots
- Weld patches or new sections as needed
- Coat with rustproof primer or powder
| Frame Restoration Checklist | Completed (✓) |
|---|---|
| Frame stripped & cleaned | |
| All rust removed | |
| Cracks and bends repaired | |
| Protective coating applied |
👨🏭 Pro tip: Use a high-quality epoxy primer to seal the frame for decades.
Step 6: Restore or Replace the Suspension System 🚘
Suspension affects ride quality, handling, and safety. Don’t skip this.
What to check or replace:
- Control arms
- Shocks and struts
- Springs
- Bushings and ball joints
- Steering components
You can upgrade to modern systems for a smoother, safer ride—if you’re driving your classic regularly.
Step 7: Engine and Drivetrain Overhaul 🛠️
Whether you’re rebuilding the original engine or swapping in a modern powerplant, this is your chance.
Options include:
- Full engine rebuild
- Transmission upgrade
- Cooling system improvements
- Exhaust system tuning
- New mounts and brackets
Step 7: Rebuild the Engine 💥
Rebuilding the engine is key. You have two choices: a classic rebuild or a modern swap.
| Engine Rebuild Options | Classic Rebuild | Modern Swap |
|---|---|---|
| Cost | Medium | High |
| Originality | High | Low |
| Performance | Moderate | High |
Choose based on how you plan to use the car: show vs. street. 💨
Step 8: Rebuild the Brakes and Fuel System ⛽🛑
Brakes and fuel systems are vital. Don’t skip these steps.
Fuel system checklist:
- Clean or replace fuel tank
- Upgrade fuel lines and filter
- Install new fuel pump and carb/injectors
Braking system tasks:
- Inspect or replace brake lines
- Upgrade to disc brakes (optional but recommended)
- Replace pads, rotors, calipers
🔧 Modern brake kits improve safety without ruining the vintage look.
Step 9: Address the Electrical System 💡
Old cars have questionable wiring. Replace it all.
Rewiring includes:
- Fuse box and relays
- Headlights, taillights, and indicators
- Ignition system
- Instrument cluster
- Charging system (alternator, battery, etc.)
💡 Want to add Bluetooth, power windows, or keyless start? Now’s the time!
Step 10: Paint and Bodywork 🎨
This is where your car starts to look like a car again.
Steps involved:
- Repair dents and surface rust
- Prime and block sand
- Apply base and clear coat
- Wet sand and polish
Choose a paint color that fits the era—or go wild and make it your own. Either way, a smooth, high-gloss finish makes the difference.
Step 11: Reinstall the Interior 🪑
This is what makes your car comfortable and inviting.
Interior elements:
- Dashboard, gauges, and controls
- Seats (reupholstered or new)
- Door panels, carpet, headliner
- Stereo and sound system upgrades
🎶 Old car, modern tech? Yes please. Install discreet audio systems that look vintage but sound amazing.
Step 12: Reassemble Body to Frame 🔩
The moment of truth: putting the body back on the finished frame.
Steps:
- Lower the body carefully
- Align and bolt to frame securely
- Reconnect wiring, hoses, and fuel lines
- Check alignment and torque specs
⚠️ Double-check everything before firing up the engine.
Step 13: Final Checks and Adjustments ✔️
Before that first joy ride, go over every inch.
Final checklist:
- Fluid levels and leaks
- Brake bleeding and test
- Suspension alignment
- Engine idle and throttle response
- Electrical system test
Drive slowly at first. Listen for unusual sounds or behavior.
Step 14: Break In and Enjoy Your Classic Ride 🏁
You did it! Your classic is officially back on the road.
- Log miles gradually
- Keep checking fluids weekly
- Detail regularly to protect paint
- Attend shows or cruise on weekends
👏 Restoring a car this way takes grit. But seeing heads turn as you drive? Totally worth it.
Conclusion
Frame off restoration is no small feat. But if you’re passionate, patient, and willing to get your hands dirty, the process is incredibly rewarding. You’ve just learned all 14 critical steps—from disassembly to final polish—that bring a classic vehicle roaring back to life.
Takeaway: With a clear plan, solid tools, and a bit of old-school grit, you can turn your dream car into a reality. Ready to wrench? 🛠️
FAQs
How long does a frame off restoration take?
It can take anywhere from 6 months to 2 years depending on time, budget, and parts availability.
What tools do I need for a frame off restoration?
Basic hand tools, an engine hoist, jack stands, power tools, and a body lift setup are essentials.
Can I do a frame off restoration at home?
Yes, with enough space, tools, and patience, many enthusiasts do it from their garage.
Is a frame off restoration worth the money?
If the car has sentimental or market value, and you do it right, the return is definitely worth it.
Do I have to upgrade everything during restoration?
Not at all. You can keep the vintage charm while upgrading only what’s necessary for safety and reliability.
References
https://www.hagerty.com/media/maintenance-and-tech/frame-off-restoration-guide/
https://www.classiccarrestorationclub.com/article/frame-off-restoration-step-by-step/
https://www.motortrend.com/how-to/how-to-frame-off-restoration-guide/


